
Start a New POE2 Character the Right Way
Most people create the character in the game first and set it up on the site afterwards. That works, but it's backwards. The helper identifies your character by name, so if the site already knows the name before your first level-up, the build and walkthrough you picked are attached from the first zone onward. Do it in the other order and the helper creates a bare placeholder character that you then have to go back and fill in.
1. Pick a build
Start in the build library. Filter by the class you want to play, or go straight to its ascendancy page, and open a few candidates. Check the skills, the gear, and the tree before you decide, and glance at the statistics page if you want to know how many other people are running the same core skill this league. Finding POE2 Builds by Class covers the browsing side in more detail.
When you've settled on one, you have two choices:
- Star it if you want to follow the build as the author maintains it. Starred builds appear in the character form's Build picker.
- Duplicate it if you want your own copy to edit. It lands in your library and appears in the picker too.
Either works for everything below, including sending the build into the game.
2. Pick a walkthrough
Do the same in the walkthrough library. A full campaign route is the usual choice for a fresh character. Star it, or clone it if you want to edit the steps. Either way it shows up in the character form's Walkthrough picker.
Once followed, the route advances itself as you enter each step's destination zone, so there's nothing to keep updated mid-session. POE2 Campaign Walkthrough Tracker has the details.
3. Create the character on the site
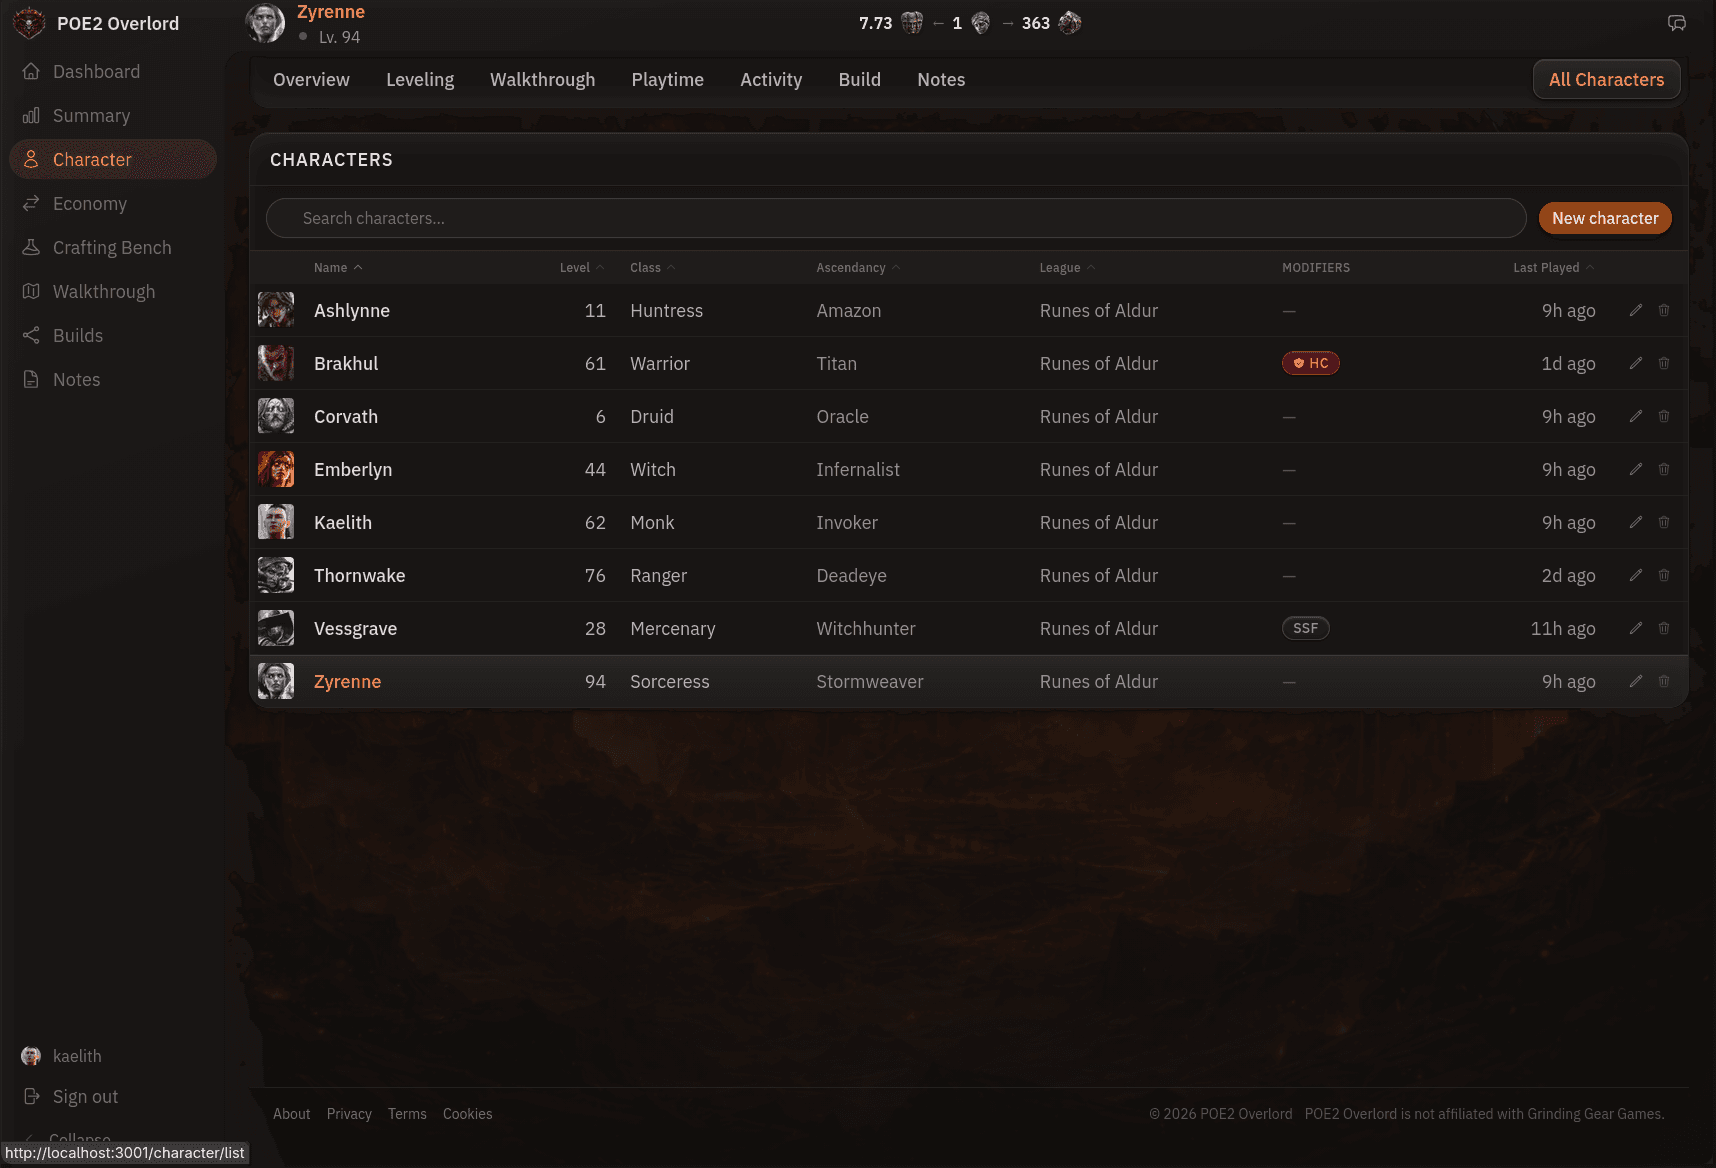
Open your characters list and click New character. Fill it in top to bottom:
- Name. Click the sparkle button next to the field to generate a random fantasy name. Keep clicking until you like one. The generated names are letters only, so the game will accept them. Copy the name before you move on.
- Class and ascendancy. Match the build. If the build is an Invoker, pick Monk and Invoker here.
- League, Hardcore, Solo Self-Found. Set these to what you're about to pick in the game. If the build targets a different league than the one you chose, the form warns you.
- Build and Walkthrough. Pick the build and route from steps 1 and 2.
Click Create character, then click the new row in the list to make it the active character. The build is on its Build tab and the walkthrough's first step is on the Tracking card. Making it active matters: until the game reports a level-up under the new name, the helper attributes zone changes to whichever character is active, and you don't want your first zones booked against last league's character.
4. Create the character in the game
Now launch Path of Exile 2. Create a new character with the same class as the build, and paste the generated name into the name field. Pick the same league and the same Hardcore and Solo Self-Found settings you chose on the site.
If the game rejects the name because someone already has it, go back to the site, edit the character, generate a new one, and try again. The name is the link between the two, so they have to match exactly.
When you enter the first zone with the helper running, the level-up and zone change land on the character you just created. The Tracking card moves to the first step, the leveling chart starts, and the build sits one tab over.
5. Send the build into the game
The game's Build Planner can show a build as a guide next to your passive tree, so you can check what to allocate next without leaving the game, and the helper can put the build there for you.
Open the build's page, click the ... menu next to the title, and choose Send to game. The item is greyed out with "helper offline" if the helper isn't connected. Within about thirty seconds the helper writes a .build file into the game's BuildPlanner folder, and the game picks it up without a restart. Open the in-game Build Planner and the build is listed as a guide.
- It works on any build you can see, including one you only starred. The helper writes into your own game folder using your own key, so the author doesn't come into it.
- The folder has to exist. The game creates it the first time you save a build in the in-game planner. If you've never done that, do it once. The Windows and Linux guides say where the folder lives.
- Nothing is equipped or allocated. The file is a guide the planner displays. Your tree and gear are still yours to change.
Variations
Many builds ship with more than one loadout, such as a Leveling variation and an Endgame one. On the build page, the Variations card in the sidebar switches between them, and when the build is applied to one of your characters each row grows a pin. Pinning marks the variation that character is running, and the build page opens on it by default from then on.
Send to game writes the variation you're looking at. Since a pinned variation is the one the page opens on, pinning Leveling and choosing Send to game puts Leveling in the planner. The game keeps one file per build, so when you're ready to move to the endgame loadout, switch to it, pin it so the Build tab follows you, and send it again. The new variation replaces the old one in the planner rather than sitting next to it. Download .build works the same way, with one difference: the filename includes the variation name when a build has more than one, so if you'd rather keep both loadouts in the planner at once, download them and drop both files into the BuildPlanner folder.
The short version
- Star or duplicate a build. Star or clone a walkthrough.
- New character on the site: generate a name, match the build's class, pick both.
- Same class, same name, same league in the game.
- Play with the helper running. Everything attaches on the first level-up.
- Send the build to the game from the ... menu. It sends whichever variation is on screen.
Browse by Category
League Status


Path of Exile 2 News
- ExileCon 2026 Schedule and Information for AttendeesOct 29, 2026
 Path of Exile 2 1.0 Full Reveal - Watch ExileCon 2026 on November 6 PSTOct 29, 2026
- Two Weeks Until ExileCon 2026!Oct 25, 2026
 Early Access Supporter Packs Leaving SoonOct 22, 2026
 ExileCon 2026 MerchandiseOct 21, 2026
- Path of Exile 2 Full Release Registration - Sign Up and Unlock Exclusive RewardsOct 19, 2026